Eggnog Protein Ice Cream

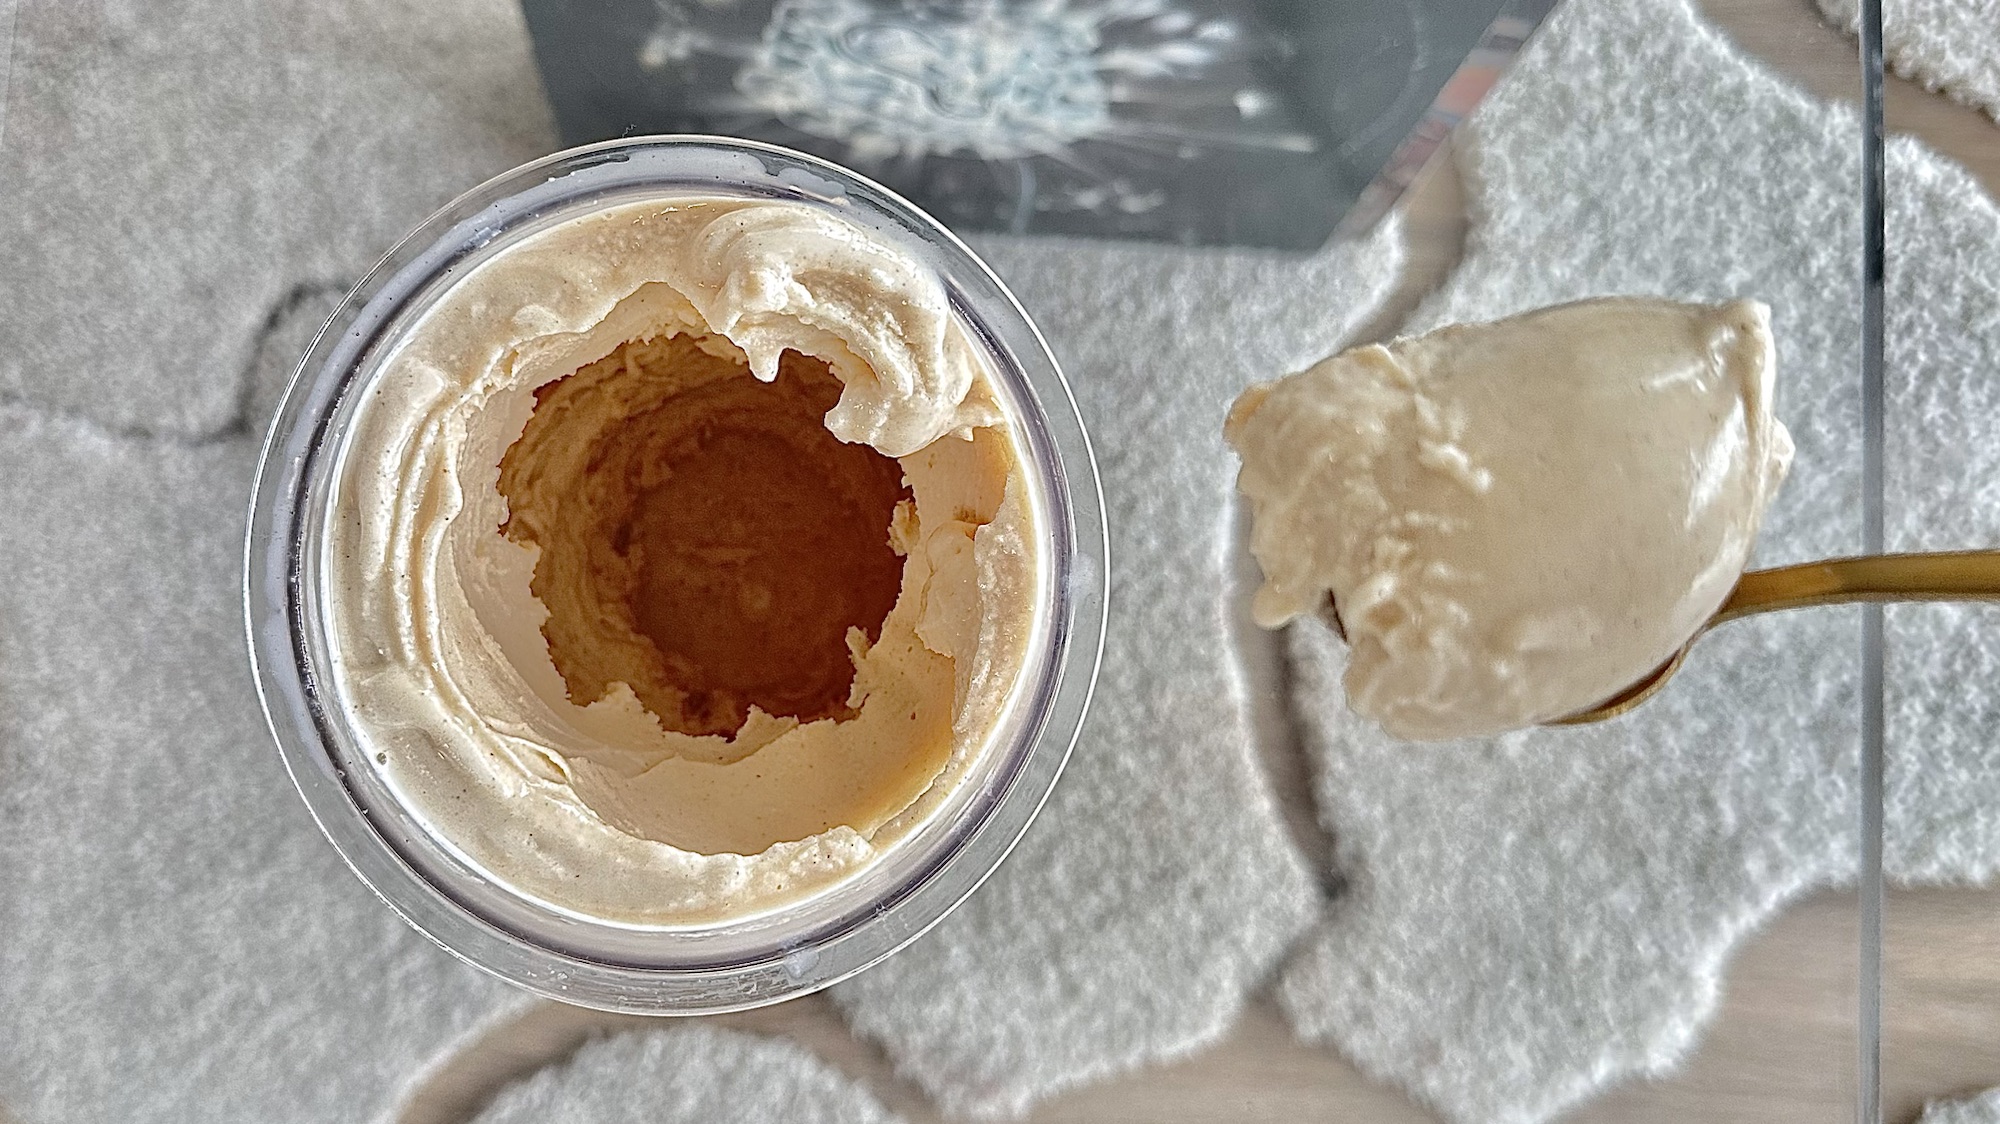
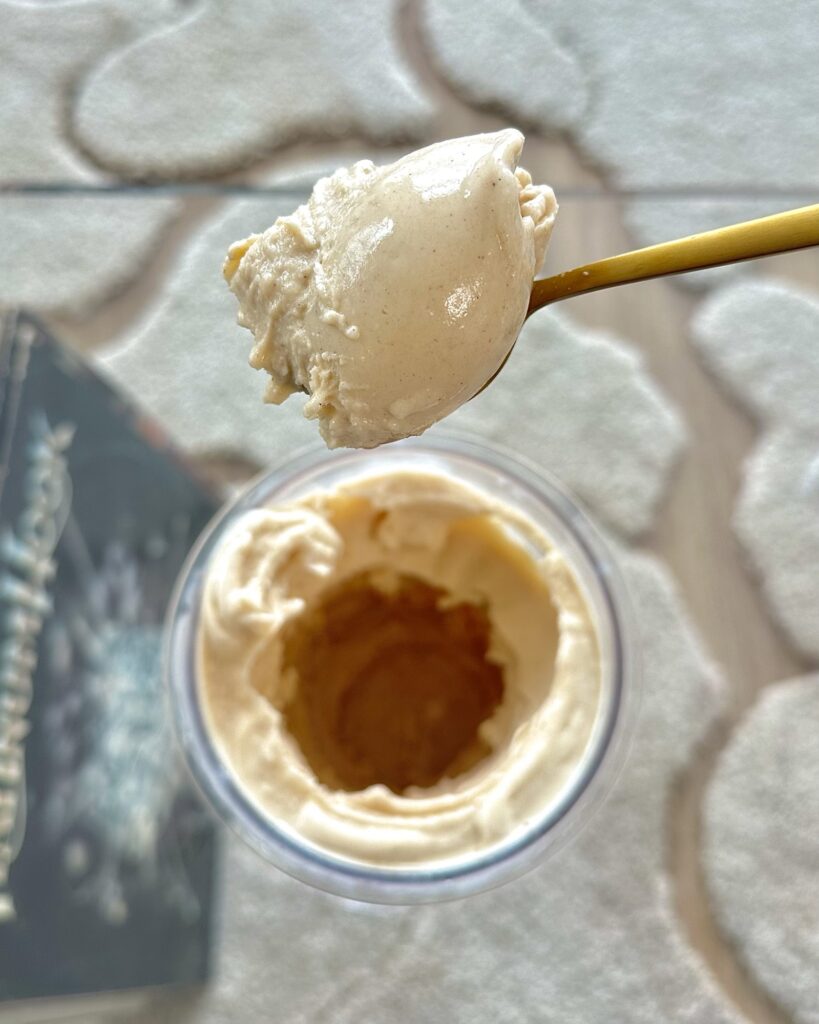
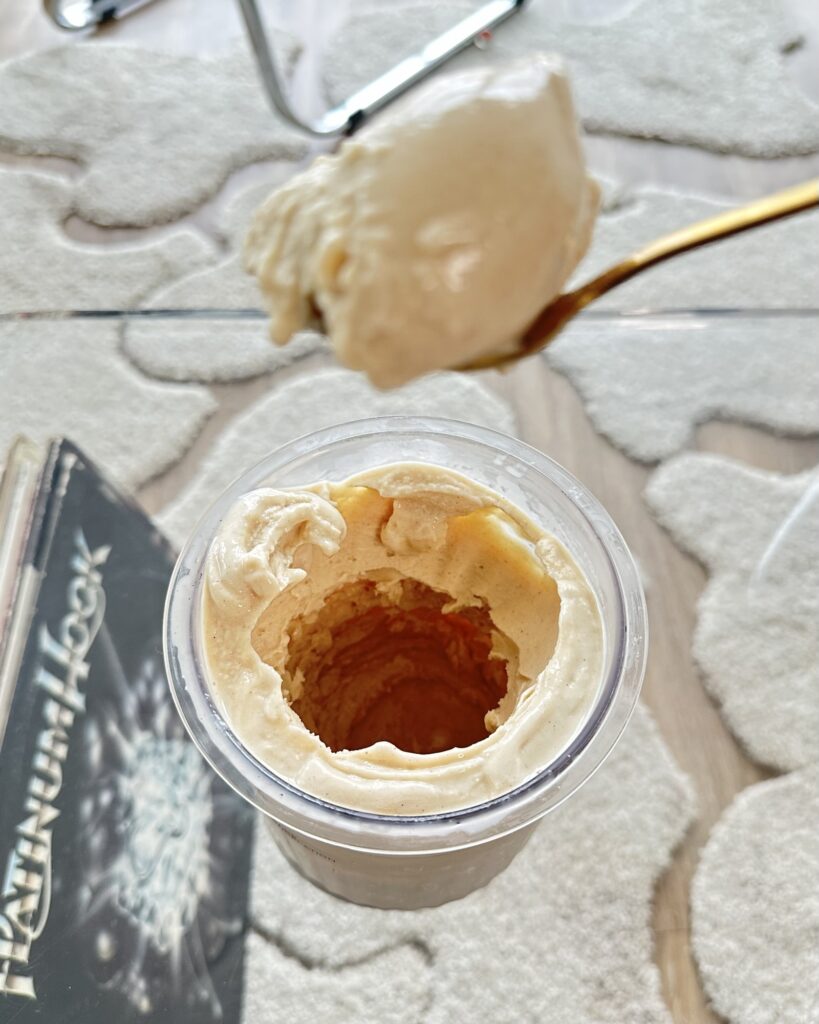
If there’s one thing that screams holiday season, it’s eggnog. Creamy, spiced, and absolutely delicious, it’s a true classic this time of year. But let’s be honest—traditional eggnog doesn’t exactly fit into the “healthy-ish” category. This Ninja Creami Eggnog Protein Ice Cream however, takes the best parts of eggnog and turns it into a creamy frozen dessert that feels indulgent but fits your goals. So if you’re like me and simply cannot relate to the egg nog haters of the world, this is the recipe for you!
Why You’ll Love This Recipe
1. High in Protein: Thanks to Greek yogurt and protein powder, this ice cream packs a solid protein punch, making it a dessert you can feel good about.
2. Customizable: Prefer more spice? Add extra cinnamon or nutmeg. Want it sweeter? Adjust the sweetener to your taste.
3. Healthier Alternative: With lower sugar and fewer calories than traditional eggnog ice cream, you can enjoy this guilt-free.
Ingredients for Eggnog Ninja Creami
Here’s everything you’ll need for this creamy, festive treat:
- 1 cup of 2% milk
- ½ cup of almond milk (or use all 2% milk if you prefer a richer texture)
- 1 scoop (30g) of vanilla protein powder
- 1 tsp vanilla extract
- 1 tsp rum extract (optional, but it gives that signature eggnog flavor)
- ½ tsp pumpkin pie spice
- ⅛ tsp cinnamon (optional, or swap with nutmeg for a more traditional eggnog spice profile)
- 85g non-fat plain Greek yogurt
- 7g sugar-free vanilla pudding mix (for a creamy texture)
- Pinch of salt
- ½ tsp stevia (or your preferred sweetener, adjusted to taste)

How to Make Eggnog Protein Ice Cream
1. Mix the Base:
In your Ninja Creami pint, whisk together the 2% milk, almond milk, protein powder, vanilla extract, rum extract, pumpkin pie spice, cinnamon, Greek yogurt, pudding mix, salt, and stevia. Make sure everything is well combined. A whisk or a handheld blender works great for this step to ensure the protein powder and pudding mix dissolve completely. ( You could also just combine everything in a blender before transferring to your pint!)
2. Adjust to Taste:
Once mixed, taste the base. If you want it sweeter, add a little more stevia or your favorite sweetener. If you’re craving extra spice, sprinkle in a bit more pumpkin pie spice or nutmeg.
3. Freeze the Base:
Pour the mixture into your Ninja Creami pint, ensuring it doesn’t exceed the max fill line. Cover it with the lid and freeze for at least 24 hours. Yes, the wait is tough, but trust me—it’s worth it.
4. Spin the Ice Cream:
Once frozen, place the pint into your Ninja Creami machine and select the “Lite Ice Cream” function. If the texture isn’t creamy enough after the first spin, you can respin it. You can also add a splash of milk or a bit of yogurt and spin again if it needs loosening up.
5. Serve and Enjoy:
Scoop the eggnog ice cream into a bowl or cone, and enjoy immediately. For a festive touch, sprinkle with cinnamon or nutmeg, or top it with whipped cream.
Customization Ideas
The beauty of this recipe is how versatile it is. Here are some ways you can make it your own:
- Spice It Up: If you love warm spices, double the cinnamon or add a pinch of cloves. You can even toss in some freshly grated nutmeg for an authentic eggnog flavor.
- Milk Options: Use all 2% milk for a richer result or swap in almond, cashew, or oat milk for a dairy-free version (just note that the protein content and consistency may vary).
- Sweetener Swaps: Don’t like stevia? Use monk fruit sweetener, Splenda, or a sugar-free syrup instead. Sweeten it to your liking.
- Boost the Protein: If you want even more protein, add an extra half-scoop of protein powder. Just be mindful of the texture—it might require a little more milk to balance out.
Tips for Success
- Let It Rest: If your base feels too solid after freezing, let the pint sit on the counter for 5–10 minutes before spinning. This helps achieve the creamiest texture. I’ve also found that running the pint under hot water for 1-2 minutes before spinning helps a lot when I’m too impatient to let it thaw.
- Experiment with Spices: The level of spice is a personal preference, so play around with it. Just remember, a little nutmeg goes a long way!
- Don’t Skip the Pudding Mix: The sugar-free pudding mix is what gives this ice cream its smooth, creamy consistency. It’s worth keeping in the recipe.
- Storage Tip: If you don’t finish the whole pint in one sitting (impressive self-control, by the way), store it back in the freezer and respin when ready to enjoy again.
Why the Ninja Creami is Perfect for This Recipe
The Ninja Creami is a game-changer for homemade ice cream, especially when you’re working with high-protein bases like this one. Traditional ice cream makers can struggle with protein-rich mixtures, leaving them icy or grainy. The Ninja Creami, however, spins frozen bases into a creamy consistency that mimics store-bought ice cream.
This recipe takes full advantage of the Ninja Creami’s magic, transforming simple ingredients into a luxurious dessert. Plus, it’s a great way to enjoy ice cream while sticking to your health goals during the holidays.


Ninja Creami Eggnog Protein Ice Cream
Ingredients
Method
- Add all ingredients to your Ninja Creami pint and whisk or froth to combine. Alternatively, you can add the ingredients to a blender and blend before pouring the mixture into your pint!
- Put the lid on your pint and freeze for 24 hours on a level surface.
- Run your pint under hot water for 1-2 minutes to thaw it slightly for a smoother result.
- Spin on lite ice cream mode.
- Respin 1-2 times, until the ice cream is smooth and creamy.(You can add a little milk or yogurt during this step if you feel it's necessary, but the thawing should be enough to avoid this!)
- Enjoy!
More Holiday Recipes to Try:
Ways to Use This Eggnog Base Beyond Ice Cream
This creamy eggnog recipe doesn’t have to be reserved just for Ninja Creami ice cream! It’s incredibly versatile and works perfectly for other low-calorie, high-protein treats. Here are a few ideas:
1. Protein-Packed Eggnog Drink
- Instead of freezing, pour the mixture over ice for a light and refreshing protein eggnog. It’s festive, flavorful, and doesn’t feel heavy like traditional eggnog.
2. Eggnog Latte
- Warm up the base mixture and froth it with a milk frother. Pour it over a shot of espresso or strong coffee for a high-protein eggnog latte.
3. Eggnog Smoothie
- Blend the mixture with ice or frozen banana chunks to create a thick and creamy eggnog smoothie.
4. Holiday Baking
- Use the base as a liquid ingredient in baked goods, like protein muffins or pancakes, for an extra boost of flavor and protein.
5. Eggnog Popsicles
- Pour the mixture into popsicle molds instead of the Ninja Creami pint, and freeze for a refreshing, on-the-go holiday treat.
FAQs
1. Can I make this recipe dairy-free?
Absolutely! Simply swap the 2% milk and Greek yogurt for dairy-free alternatives. Almond milk, oat milk, or soy milk work well as a base, and you can use coconut yogurt or a plant-based Greek-style yogurt to maintain the creamy texture.
2. Do I need to use the sugar-free pudding mix?
The pudding mix helps with texture and creaminess, but if you’d prefer to skip it, you can try using a teaspoon of cornstarch or xanthan gum instead. Keep in mind the flavor might be slightly less rich.
3. Can I adjust the spices?
Of course! This recipe includes pumpkin pie spice and cinnamon, but you can customize the spice profile to suit your tastes. Nutmeg, allspice, or even a pinch of cloves can enhance the eggnog vibes.
4. Do I have to freeze the base for 24 hours?
For the best texture, the base should freeze solid for at least 24 hours before spinning in the Ninja Creami. If you’re in a rush, some users have had success with shorter freezing times, but it may affect the final consistency.
5. How can I make this recipe sweeter?
The recipe includes a half teaspoon of stevia, but you can adjust the sweetness to your preference. Maple syrup, monk fruit, honey, or even regular sugar will work—just sweeten the mixture before freezing.
6. What protein powder works best for this recipe?
A vanilla-flavored whey protein powder works wonderfully, but you can use any protein powder you like. Plant-based protein powders are also an option, though they might slightly affect the creaminess.
Final Thoughts
This Eggnog Ninja Creami recipe is the perfect way to indulge in holiday flavors without derailing your goals. It’s creamy, festive, and packed with protein, making it a treat you’ll want to enjoy all season long. Whether you’re an eggnog addict like me or just want a fun twist on homemade ice cream, this recipe is a must-try.
So, grab your Ninja Creami, whip up a batch, and let me know how it turns out. And if you tweak the recipe or try fun variations, I’d love to hear about it!
Happy holidays and happy spinning!
