
Tiramisu Protein Ice Cream
So, we’re all here because we love tiramisu, right? The creamy layers, the espresso-soaked ladyfingers, that light dusting of cocoa powder that just hits—it’s a classic for a reason. So obviouslyyyyyyy, I had to make an ice cream out of it!
This Tiramisu Protein Ice Cream gives you everything you love about the dessert but in a cold, creamy, and macro-friendly way, which means lots of protein while keeping things light.
And let me say now that yes, the ingredient that everyone loves to hate… cottage cheese is cosplaying as mascarpone in this recipe. Sorry not sorry, let’s get into it!
Why You’ll Love This Tiramisu Protein Ice Cream
- Authentic tiramisu flavor – We’re using espresso powder, rum extract, and ladyfingers to capture the real deal.
- High in protein – Thanks to cottage cheese and protein powder, this ice cream has a solid boost of protein without tasting like a protein shake.
- Creamy texture – No icy or chalky protein ice cream here—this one is smooth and rich.
- Made in the Ninja Creami – The absolute best way to make high-protein ice cream that’s actually creamy.
Tiramisu Protein Ice Cream Ingredients
To make this, you’ll need:
Base:
- 1 ¼ cup (300ml) 2% milk – Keeps the ice cream creamy while staying light.
- ½ cup (113g) fat-free cottage cheese – Don’t be scared! It adds protein and makes the texture extra smooth.
- 1 scoop (31g) vanilla protein powder – Use one that blends well without getting icy.
- 14g sugar-free cheesecake pudding mix – Essential for that thick, luscious consistency.
- 1 tsp espresso powder – Tiramisu’s signature flavor.
- 1 tsp vanilla extract – For depth and sweetness.
- ½ tsp rum extract – The key to getting that classic tiramisu taste.
- 2 tsp stevia or sweetener of choice – Adjust to taste.
- Pinch of salt – Brings out all the flavors.
Mix-Ins & Toppings:
- 2 ladyfingers – Mixed into the ice cream for that true tiramisu feel.
- Cocoa powder – A dusting on top to finish it off.
How to Make Tiramisu Protein Ice Cream
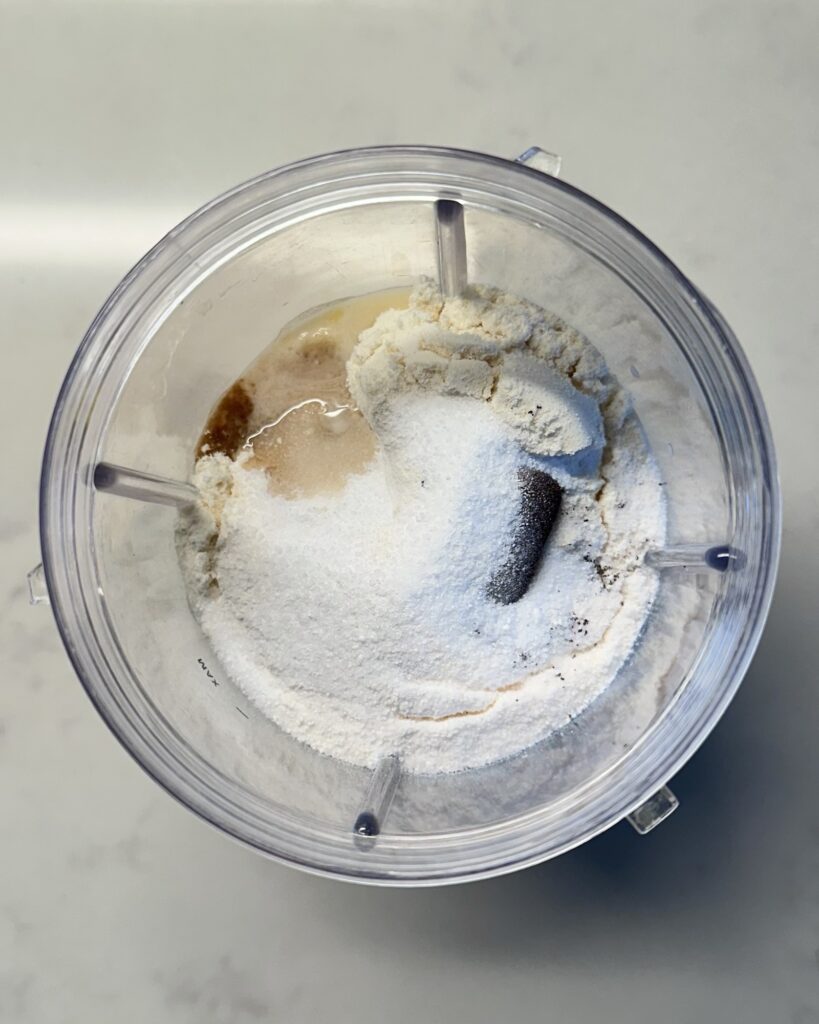
Step 1: Blend the Base
In a blender, combine:
- Milk
- Cottage cheese
- Protein powder
- Pudding mix
- Espresso powder
- Vanilla extract
- Rum extract
- Sweetener
- Pinch of salt
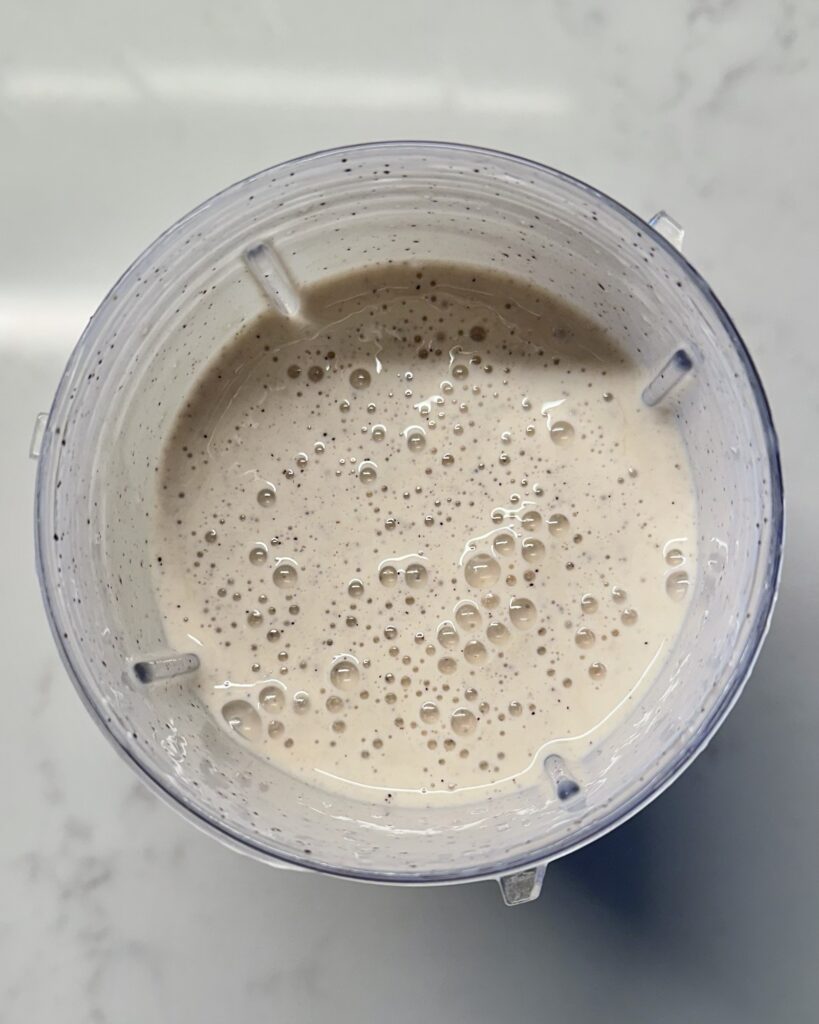
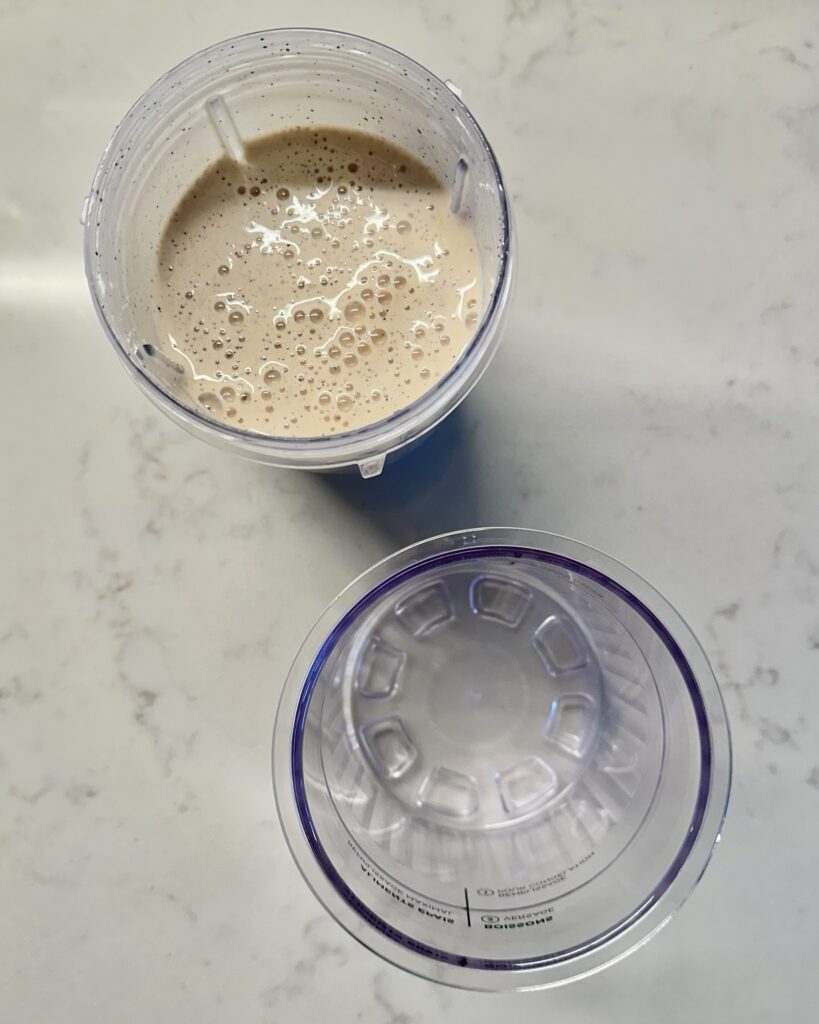
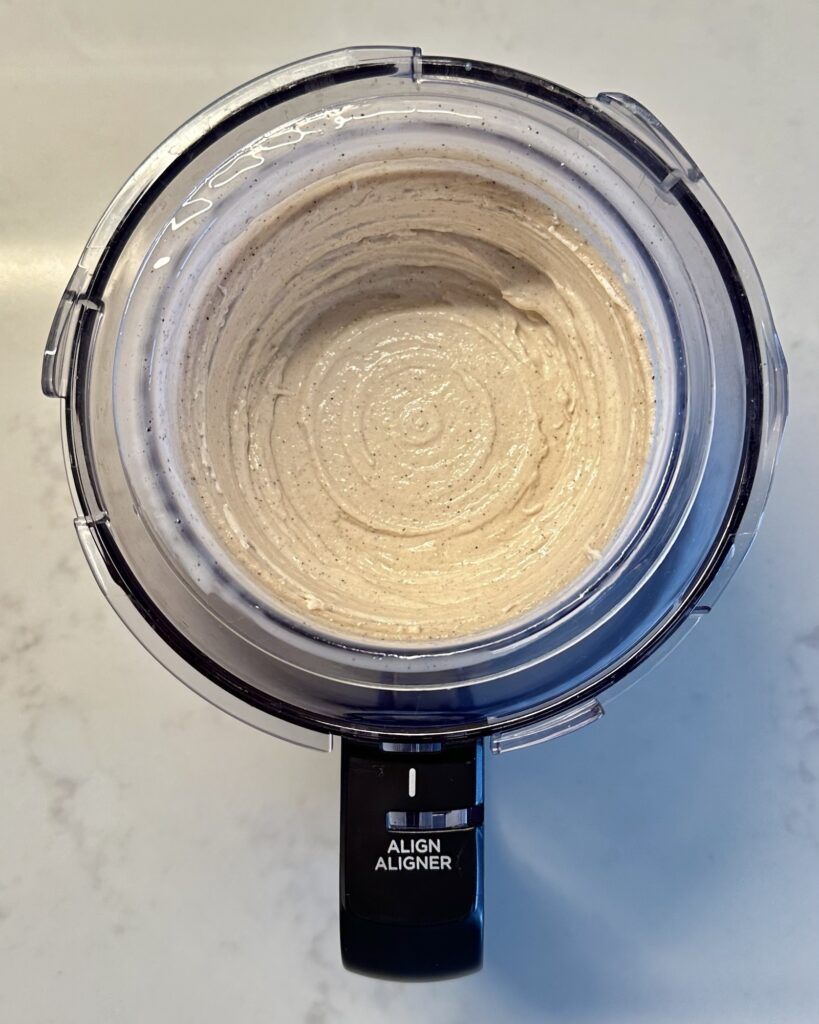
Blend until completely smooth. You don’t want any cottage cheese chunks—it should look like a creamy, pourable mixture.
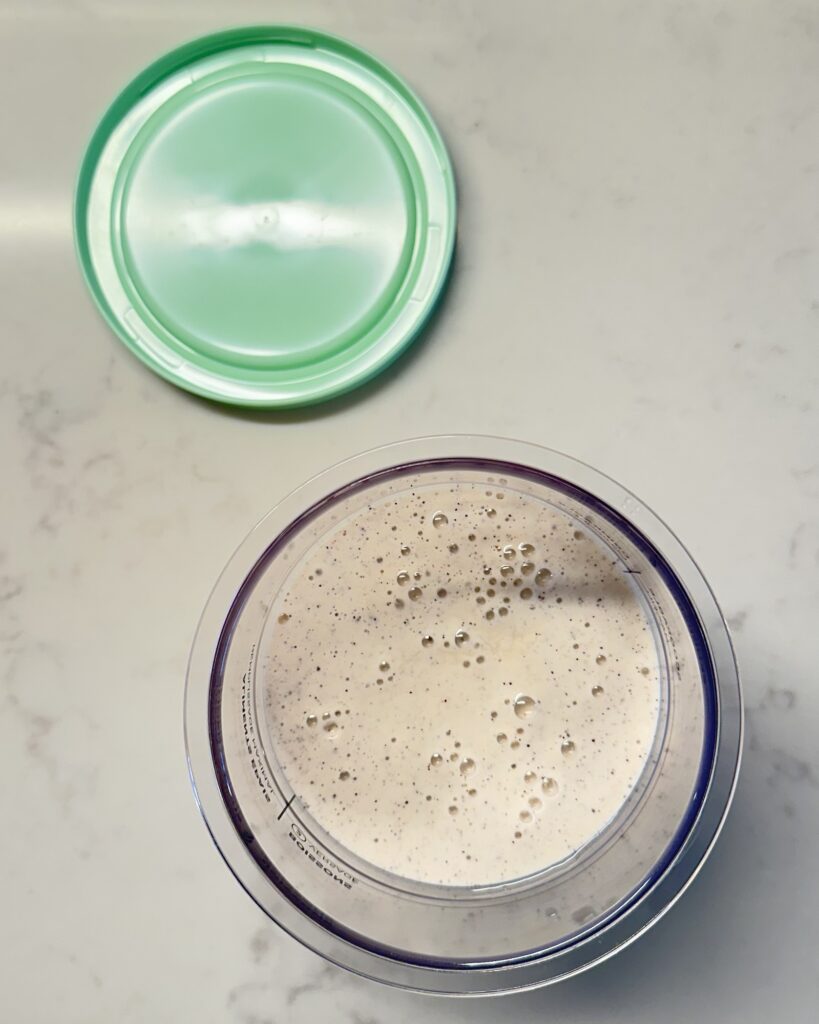
Step 2: Freeze for 24 Hours
Pour the mixture into a Ninja Creami pint and place it on a level surface in the freezer. Let it sit for 24 hours—yes, a full day. (Trust me, it’s worth the wait.)
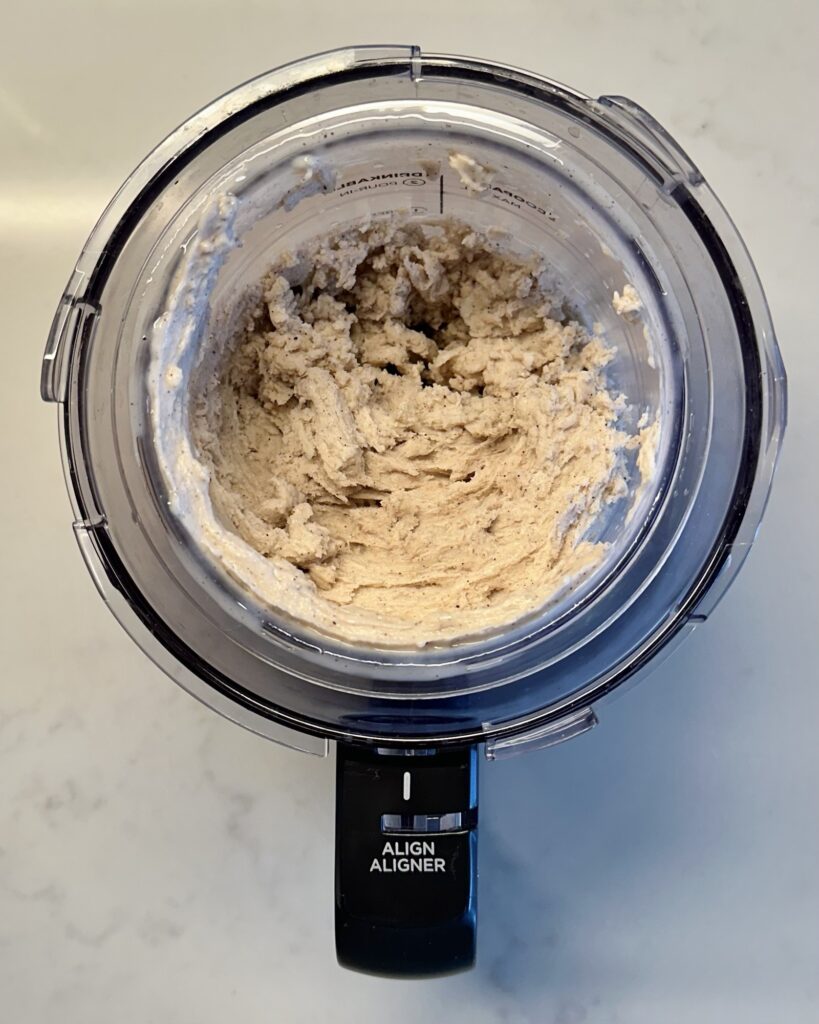
Step 3: Spin the Ice Cream
Once frozen, remove the pint from the freezer and run it under hot water for 1-2 minutes on all sides, including the bottom.
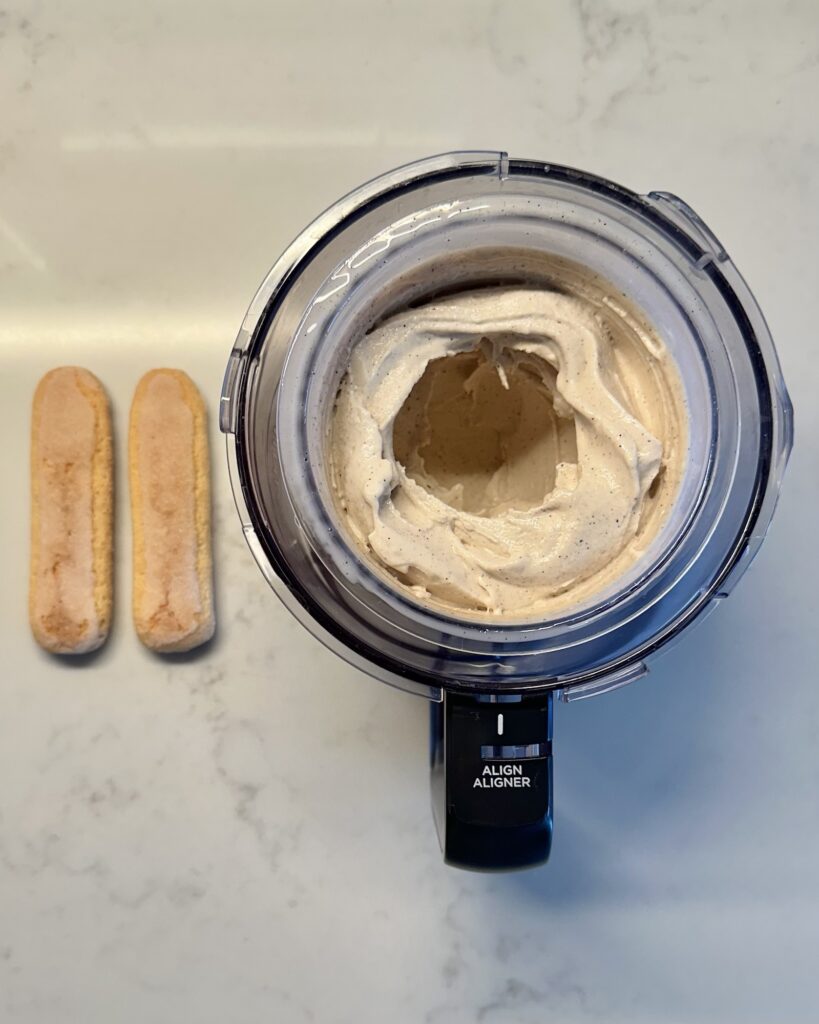
Place the pint in the machine and spin it on Light Ice Cream mode. After the first spin, it might look crumbly—don’t panic! Just re-spin it 1-2 times until you get a smooth, creamy texture.
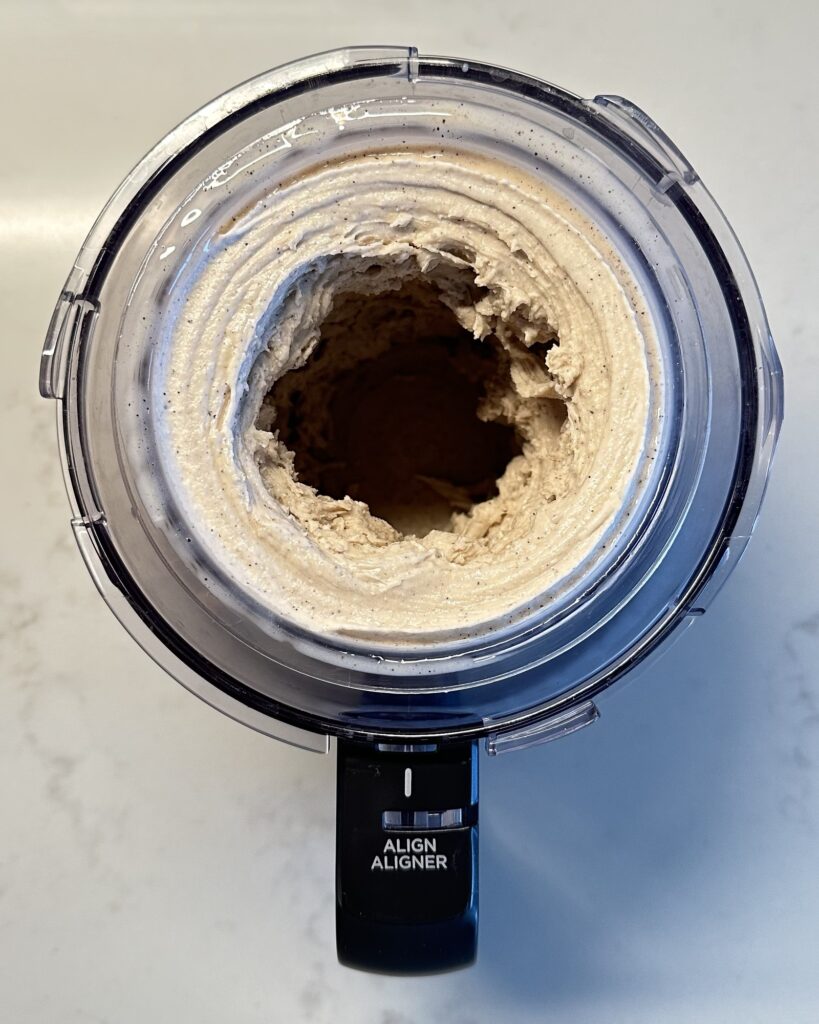
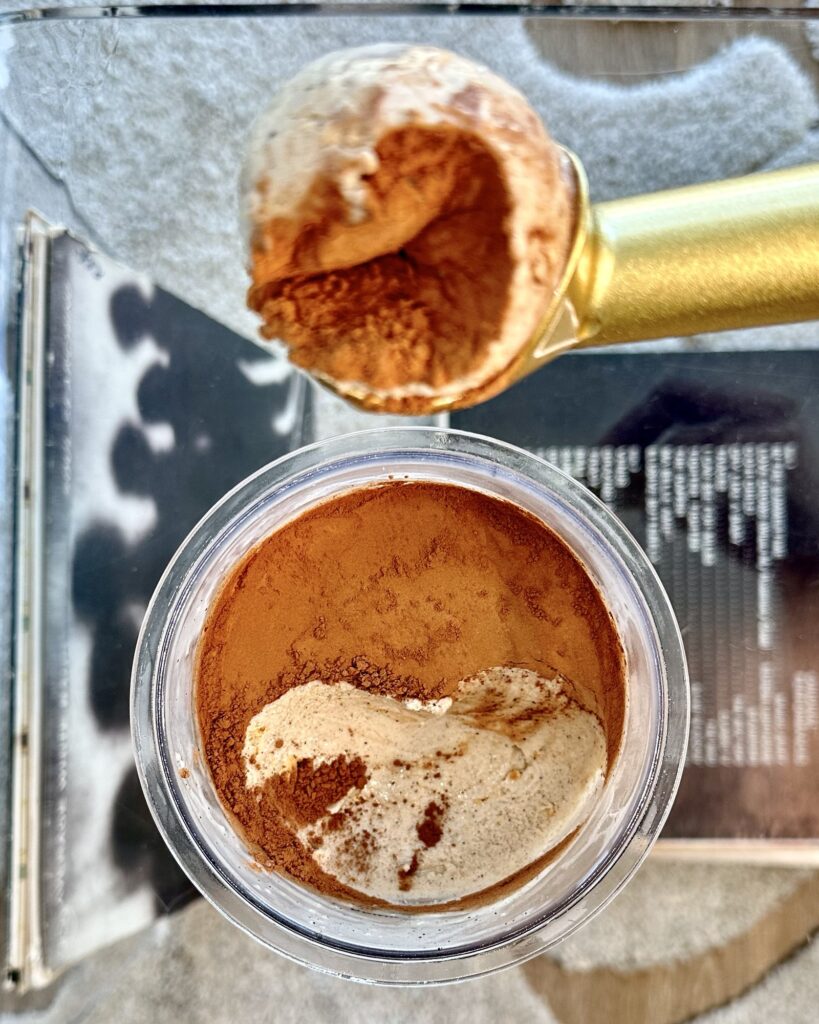
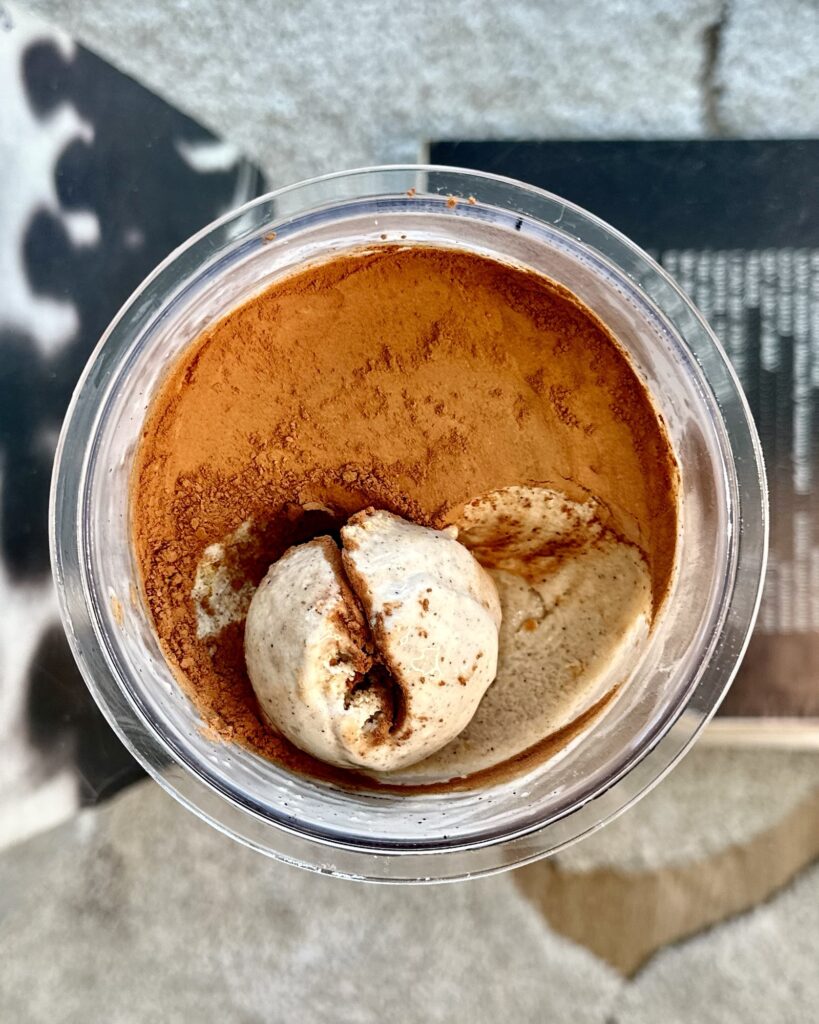
Step 4: Add the Mix-Ins
If there’s no hole in the center of your ice cream, create one. Then, add your two broken ladyfingers into the well. Spin on Mix-In mode to incorporate them.

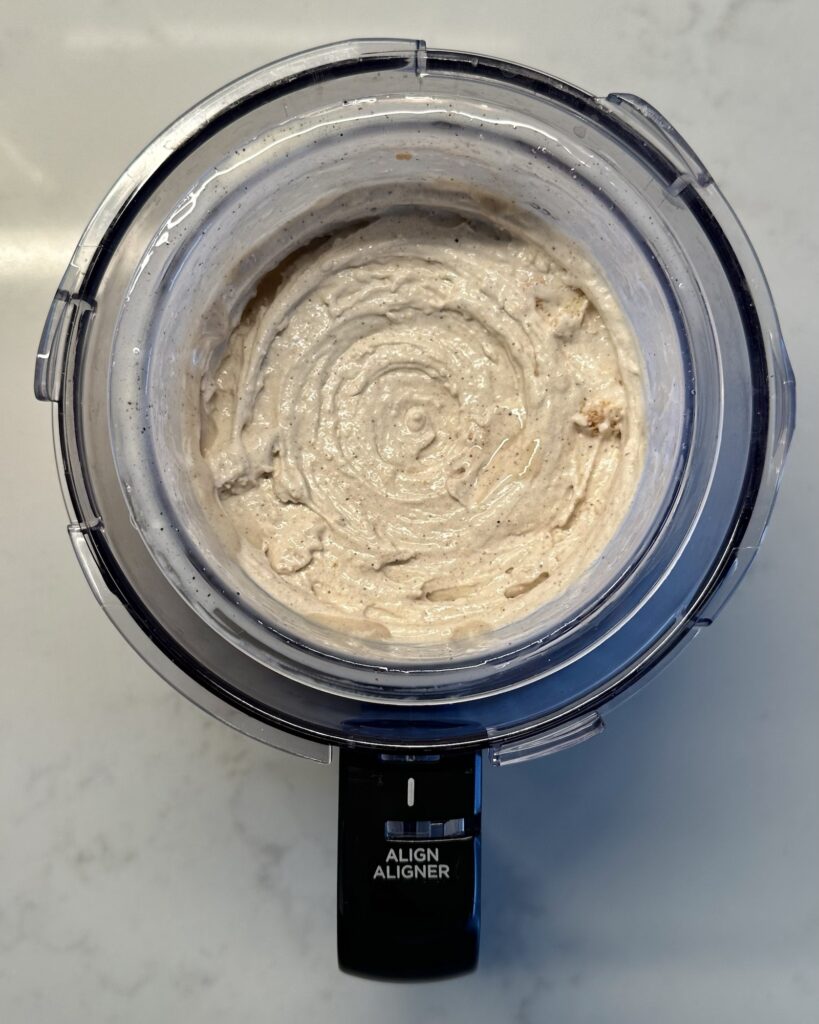
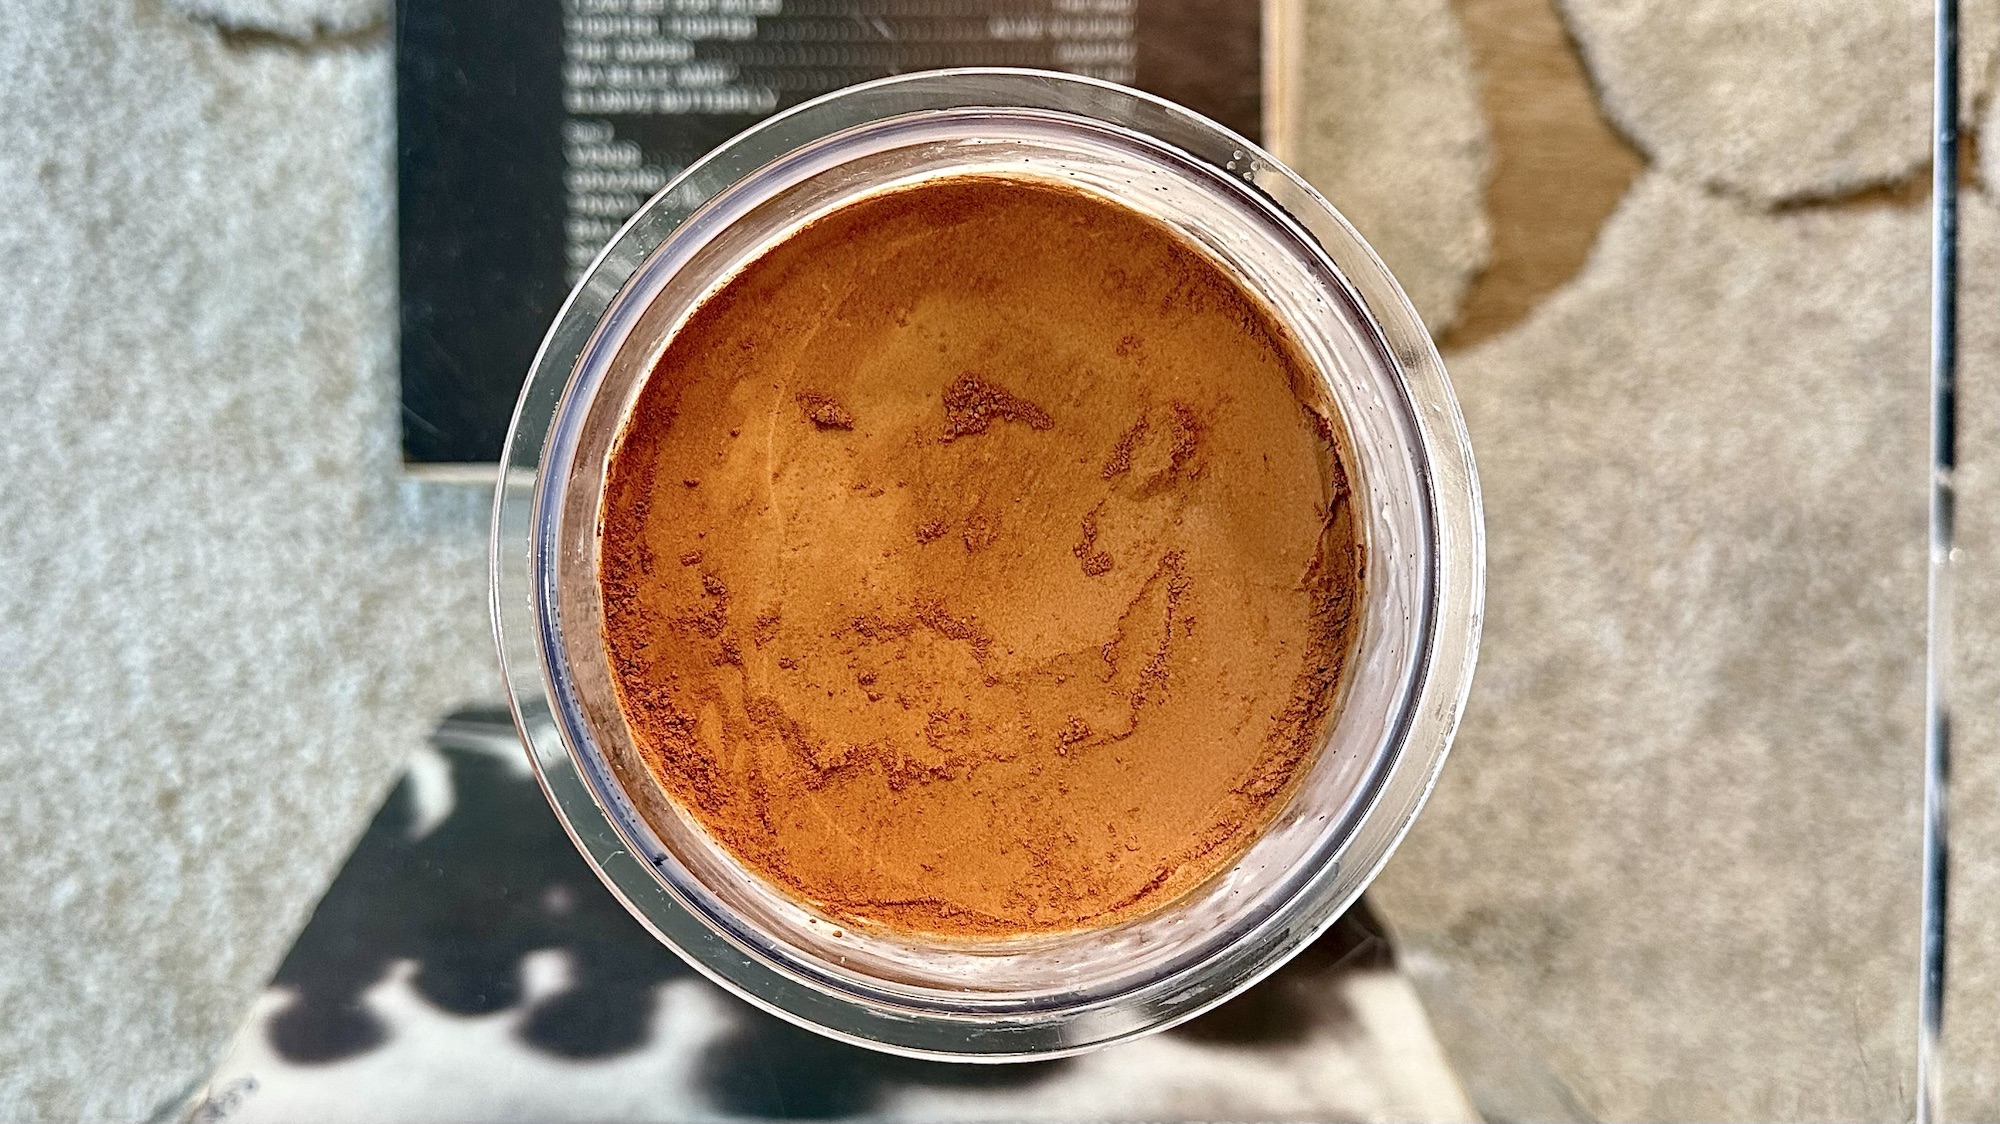
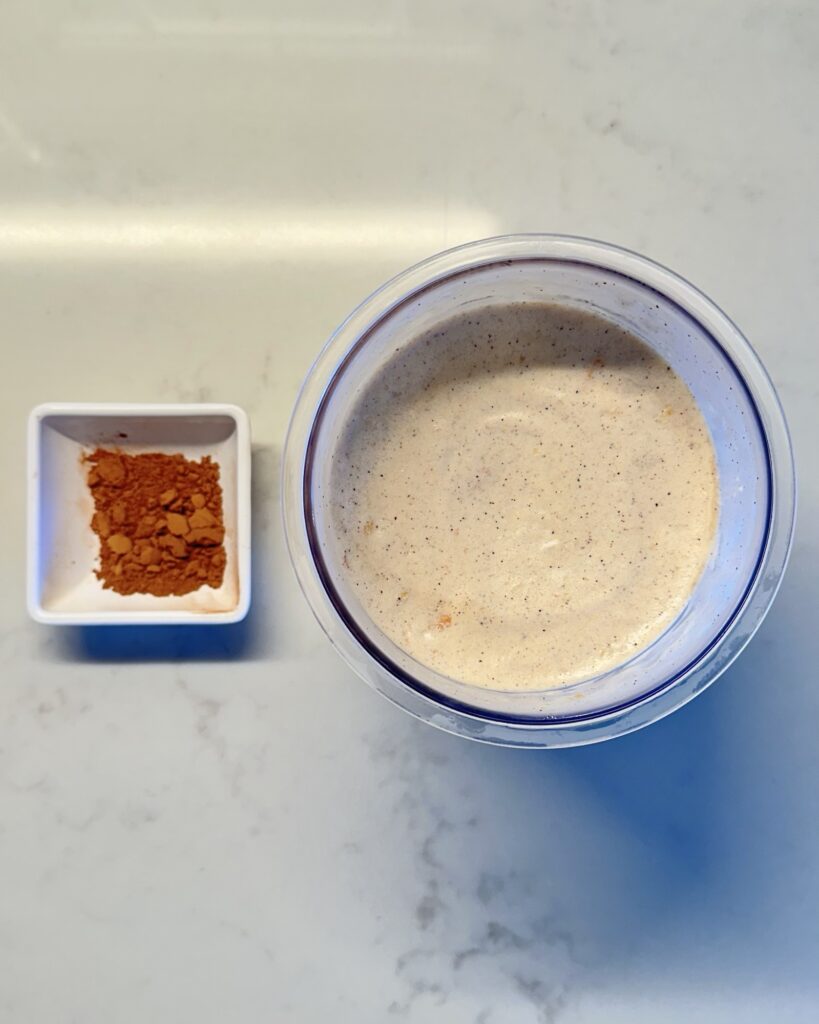
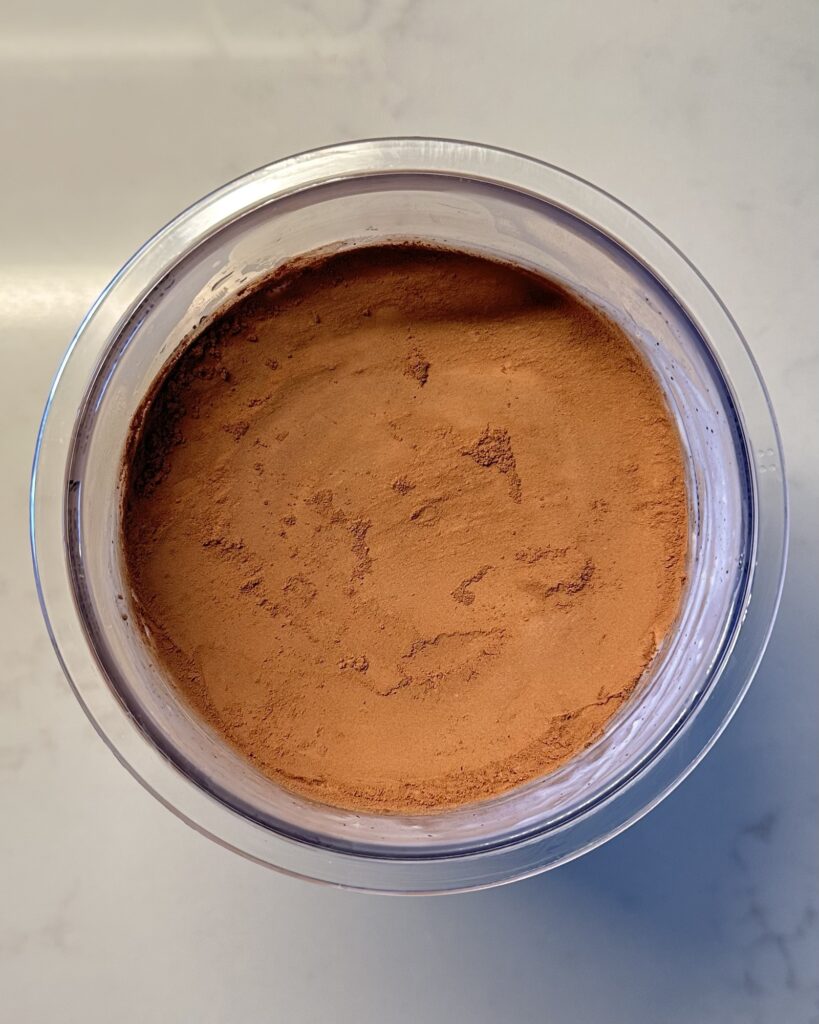
Step 5: Finish with Cocoa Powder
Smooth over the top and dust with cocoa powder—this is what gives it that classic tiramisu touch.
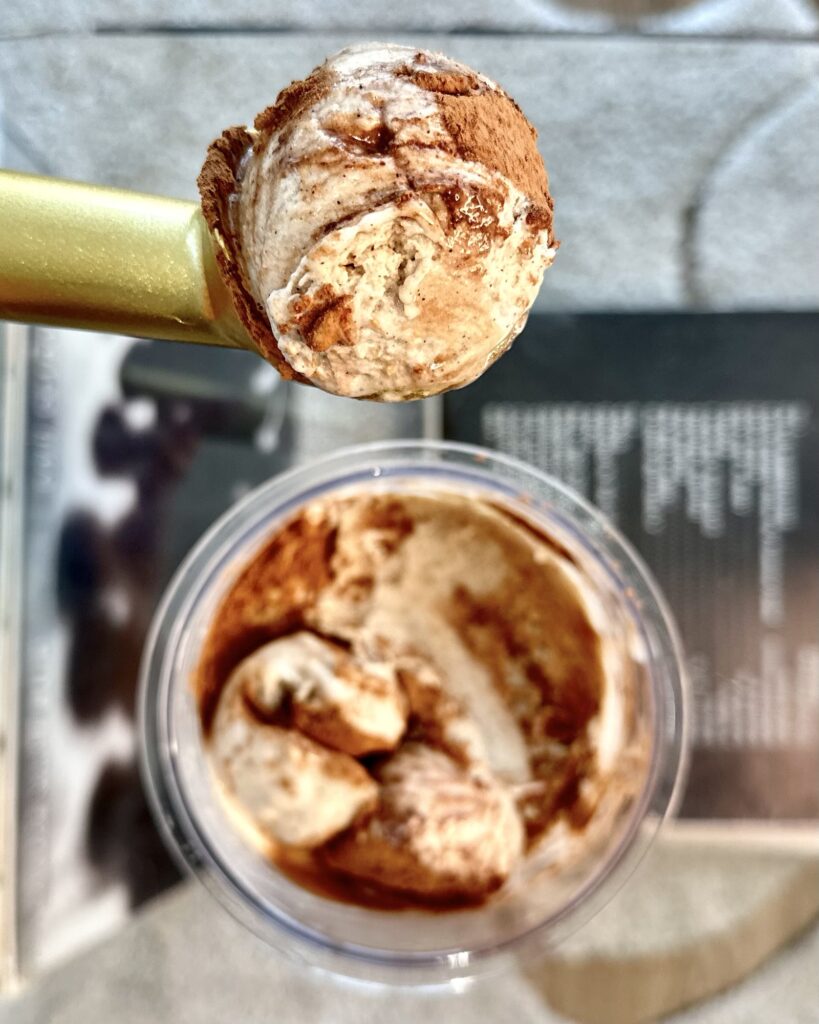
Step 6: Enjoy!
Grab a spoon, dig in, and try not to eat the entire pint in one sitting (or do, because why not?).
Tips for the Creamiest Ninja Creami Ice Cream
- Use a good protein powder – Some protein powders get icy when frozen. Ones with casein or a blend (rather than just whey) tend to have a creamier texture.
- Don’t skip the pudding mix – It helps create a creamier, smoother texture and prevents the ice cream from turning icy or grainy.
- Re-spin as needed – Protein ice cream usually needs at least one re-spin to reach the perfect texture.
- Adjust sweetness – The stevia/sweetener can be adjusted to your taste, especially depending on your protein powder.
- Experiment with mix-ins – Love a stronger coffee kick? Try soaking the ladyfingers in espresso before adding them in.
Variations & Customizations
Want to switch things up? Here are some ways to make this recipe your own:
- Mocha Tiramisu Ice Cream – Use chocolate protein powder in the base for a rich, chocolatey twist.
- Caramel Macchiato Ice Cream – Swap the cheesecake pudding mix with butterscotch pudding mix and drizzle some sugar-free caramel on top.
- Extra Espresso Kick – Dissolve ½ tsp espresso powder in 1 tbsp warm water and pour it over the finished ice cream before eating.

Tiramisu Protein Ice Cream
Ingredients
Method
- Add all "Ice Cream Base" ingredients to a blender and blend until smooth.
- Pour the mixture into a Ninja Creami pint and freeze on a level surface for 24 hours.
- Once frozen, remove the pint from the freezer and run it under hot water for 1-2 minutes on all sides, including the bottom.
- Spin on Lite Ice Cream mode.
- Respin it 1-2 times until you get a smooth, creamy texture.
- If there’s no hole in the center of your ice cream, create one. Then, add your two (broken up) ladyfingers into the well. Spin on Mix-In mode.
- Smooth over the top of your ice cream and dust with cocoa powder.
- Enjoy!
More Ninja Creami Recipes to Try
If you love this one, you need to try these:
1. Dirty Chai Protein Ice Cream
A spicy, cozy mix of chai and espresso with the protein-packed goodness you love.
2. London Fog Protein Ice Cream
A creamy, aromatic blend of Earl Grey tea and vanilla, for a subtly sweet and comforting dessert.
3. White Chocolate Mocha Protein Ice Cream
A decadent twist on the classic coffeehouse drink with smooth white chocolate and espresso flavors.
Frequently Asked Questions (FAQ)
1. Can I use a different sweetener instead of stevia?
Yes, you can use any sweetener you prefer—monk fruit, erythritol, or even maple syrup (just adjust the amount based on sweetness).
2. How do I know when the ice cream is ready?
Once you’ve spun the ice cream 1-2 times and it has a smooth, creamy texture, it’s ready! If it’s a bit crumbly after the first spin, just give it another spin or two to reach your desired consistency.
3. Can I make this recipe without a Ninja Creami?
While the Ninja Creami is the easiest way to get that creamy texture, you can also try using a regular ice cream maker or even freezing the mixture in a container and stirring it every 30 minutes to break up the ice crystals.
4. Can I add more mix-ins?
Absolutely! Get creative by adding things like chocolate chips, more crushed ladyfingers, or a drizzle of chocolate syrup.
Final Thoughts
If you’ve been craving tiramisu but want a high-protein, Ninja Creami-friendly version, this is it. It’s smooth, rich, and packed with all the tiramisu flavors, without the heaviness of the traditional dessert.
Plus, it’s way too easy to make. Blend, freeze, spin, mix in ladyfingers, dust with cocoa powder—done. If you try it, let me know how it turns out!
And if you’re as obsessed with Ninja Creami creations as I am, stay tuned for more recipes coming soon!
Now go make this ice cream. Like, right now.